GitHub badges! (PHP repository) - Tutorial with Travis and GitHub
The content here is under the Attribution 4.0 International (CC BY 4.0) license
Join Our Community
Connect with developers, architects, and tech leads who share your passion for quality software development. Discuss TDD, architecture, software engineering, and more.
→ Join SlackDisclaimer : If you don’t know what are badges I’d suggest a quick view to https://poser.pugx.org which is a open source project with badges for PHP projects. Also for this post I’m assume you have a experience with GitHub already and know how to commit, push, pull or use GitHub from web interface.
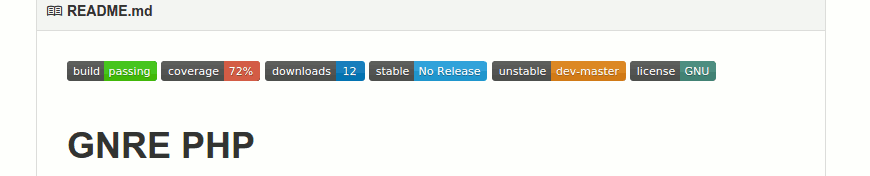
The repository used for this post can be found here. Badges that we’re going to use:
- Build Status
- Coverage Status
- Total Downloads
- Latest Stable Version
- Latest Unstable Version
- License
Final result
Travis CI
First step is go to https://travis-ci.org and click in Sign in with GitHub and Travis will ask you to sign with your GitHub account. Fill the fields Username/Email and Password and click in sign in (Don’t forget to allow Travis in your GitHub account). Now we have to go to our profile in Travis and enable which repository we’re going to build.
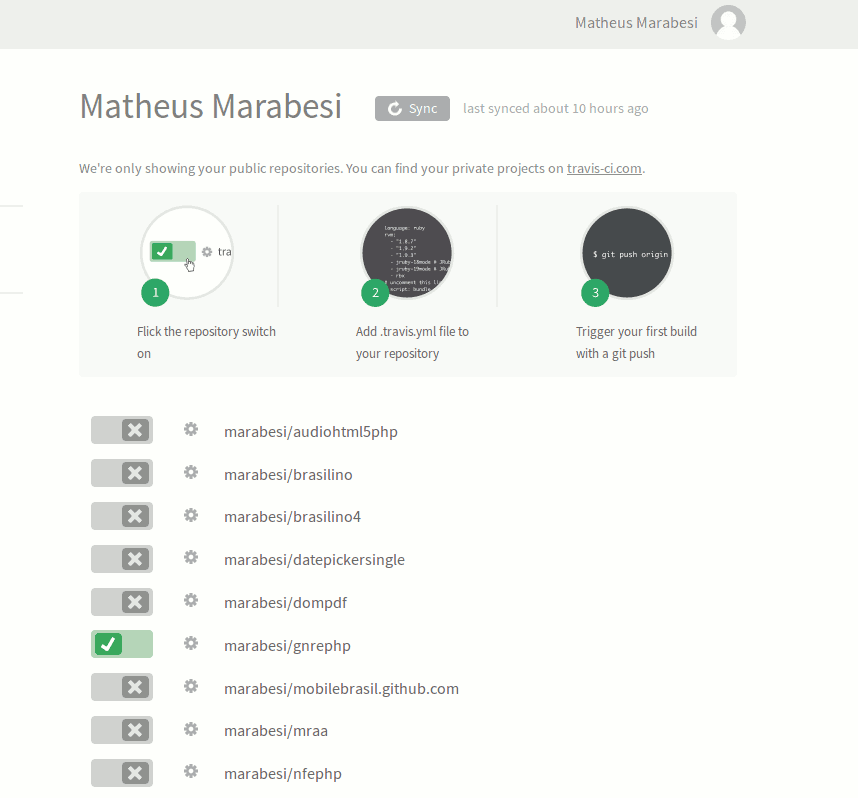
If you have any issues doing this, follow the steps on the Travis CI website!
.travis.yml
We have to tell Travis which configuration we’re going to use and to do that we use a file called .travis.yml and push it to the root of the repository.
php:
  - 5.3
  - 5.4
  - 5.5
  - 5.6
  - hhvm

before_script:
  - composer install
README.md
The last step to use the Build Badge is to update the file README.md in your GitHub repository.

1. click on Build Passing in the left side of your repository name and a modal will appear.
- Select which branch you’re going to use
- Select Markdown in the select box
- Copy the text in the text area
- Create a file in your repository called README.md (or just update it if exists) with the copied text in the step 4.
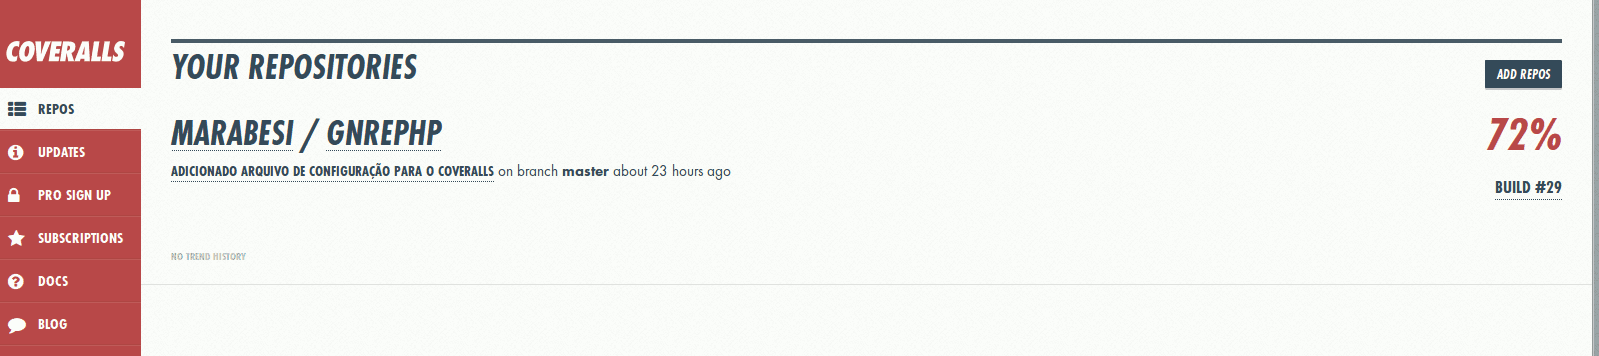
Coveralls
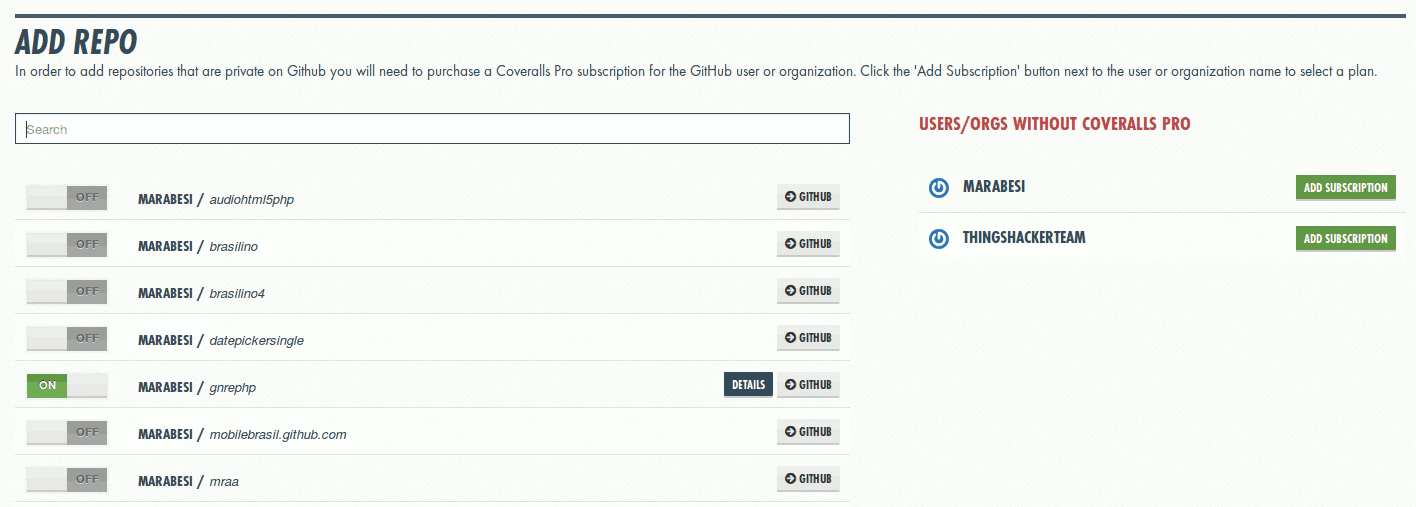
To use the coverage badge, we’re going to use https://coveralls.io, and as we did with Travis, we have to allow Coveralls in our GitHub account. Go to https://coveralls.io and click on Free GitHub Sign-in. After a successful login, click on Add Repos.
Just like Travis, select which repository you’re going to use.
.travis.yml
To use coveralls.io, you must have a test suite. Here, we’re going to use PHPUnit to execute our tests. We must update our .travis.yml file to execute our tests and generate coverage in an XML format for coveralls.io.
language: php

php:
  - 5.3
  - 5.4
  - 5.5
  - 5.6
  - hhvm

before_script:
  - composer install

script:
  - mkdir -p build/logs
  - phpunit --coverage-clover build/logs/clover.xml

after_script:
  - php vendor/bin/coveralls -v
As you can see, we added some extra tasks to Travis. Just update your .travis.yml and push it to the repository.
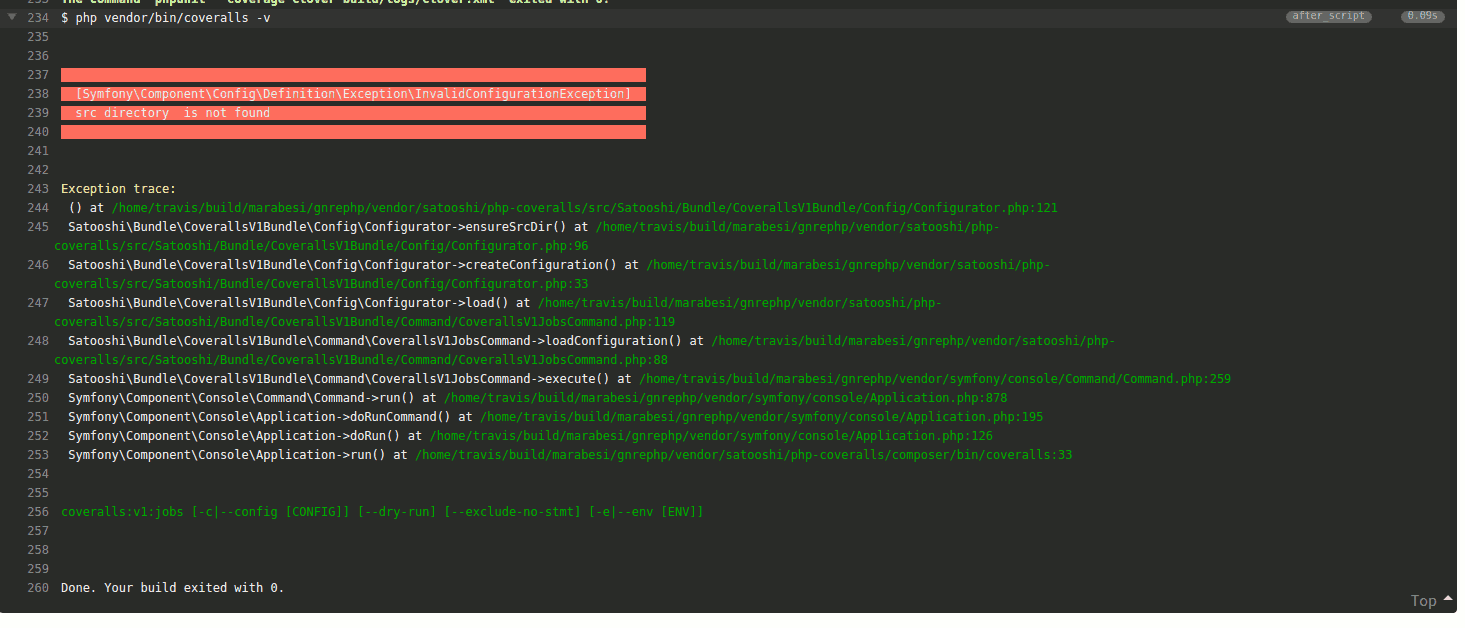
.coveralls.yml
To get Coveralls working correctly, we should create a file called .coveralls.yml with the following content:
src_dir: .
After that push it to your repository. Otherwise you’ll get an InvalidArgumentException from Travis build:
README.md
Now we have Travis working together with coveralls.io. We just need to update our README.md with the badge.
![]()
- Go to https://coveralls.io/repos
- Select your repository in the list
- In the rightmost look at the bottom and find Readme Badge and click on it.
- Wen the pop-up shows select the Markdown text
- Update your README.md on GitHub with this text
IMPORTANT
To follow the next section, your repository must be hosted at https://packagist.org otherwise it wont work.
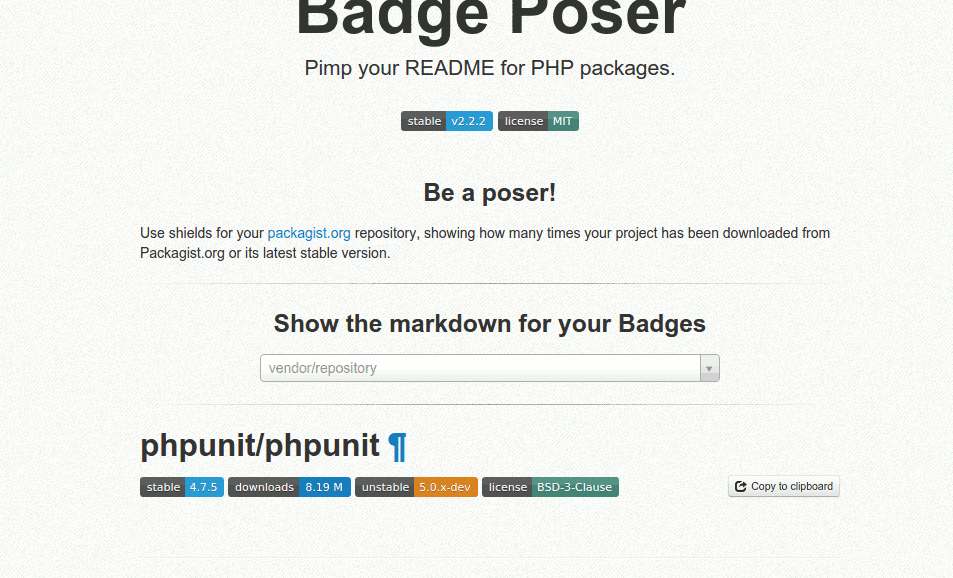
Total Downloads, Latest Stable Version, Latest Unstable Version, License
Now we have our two badges (Build with Travis and Code Coverage with Coveralls) in our repository, but we have 4 badges left to add. The reason I left those for last is simple: you can find them at https://poser.pugx.org.
- Type your repository name in the text box
- Select which you want to and select the Markdown text or click in Copy to clipboard
- Update your README.md in your repository
References
InvalidArgumentException with Coveralls - https://github.com/lemurheavy/coveralls-public/issues/45
Adding Build Badge with Travis - http://stackoverflow.com/questions/19810386/showing-travis-build-status-in-github-repo