Phing ? Automate all the things ! - Practical example
If you want to know what is Phing, why should you use it and see some simple XML code please visit the part one of this post here.
The main objective here is to demonstrate how Phing fits in our day as developers and how useful it is. Nothing better than a real example world to illustrate and clarify our minds.
Starting the project
Here I’m going to propose a workflow to illustrate where Phing fits and how it can contribute to improve our productivity.
Usually when we start a new project that already exists we clone it, we run composer and we run PHPUnit to check if its all right. It’s kinda of boring when we have to do it manually and also we can make mistakes, for example I can forget to update my dependencies with composer and try to run unit tests, and get a error thrown. As a second advantage to use a build tool we can improve our productivity, while Phing run our tasks we can do other things. For instance let’s see how our flow is going to work:
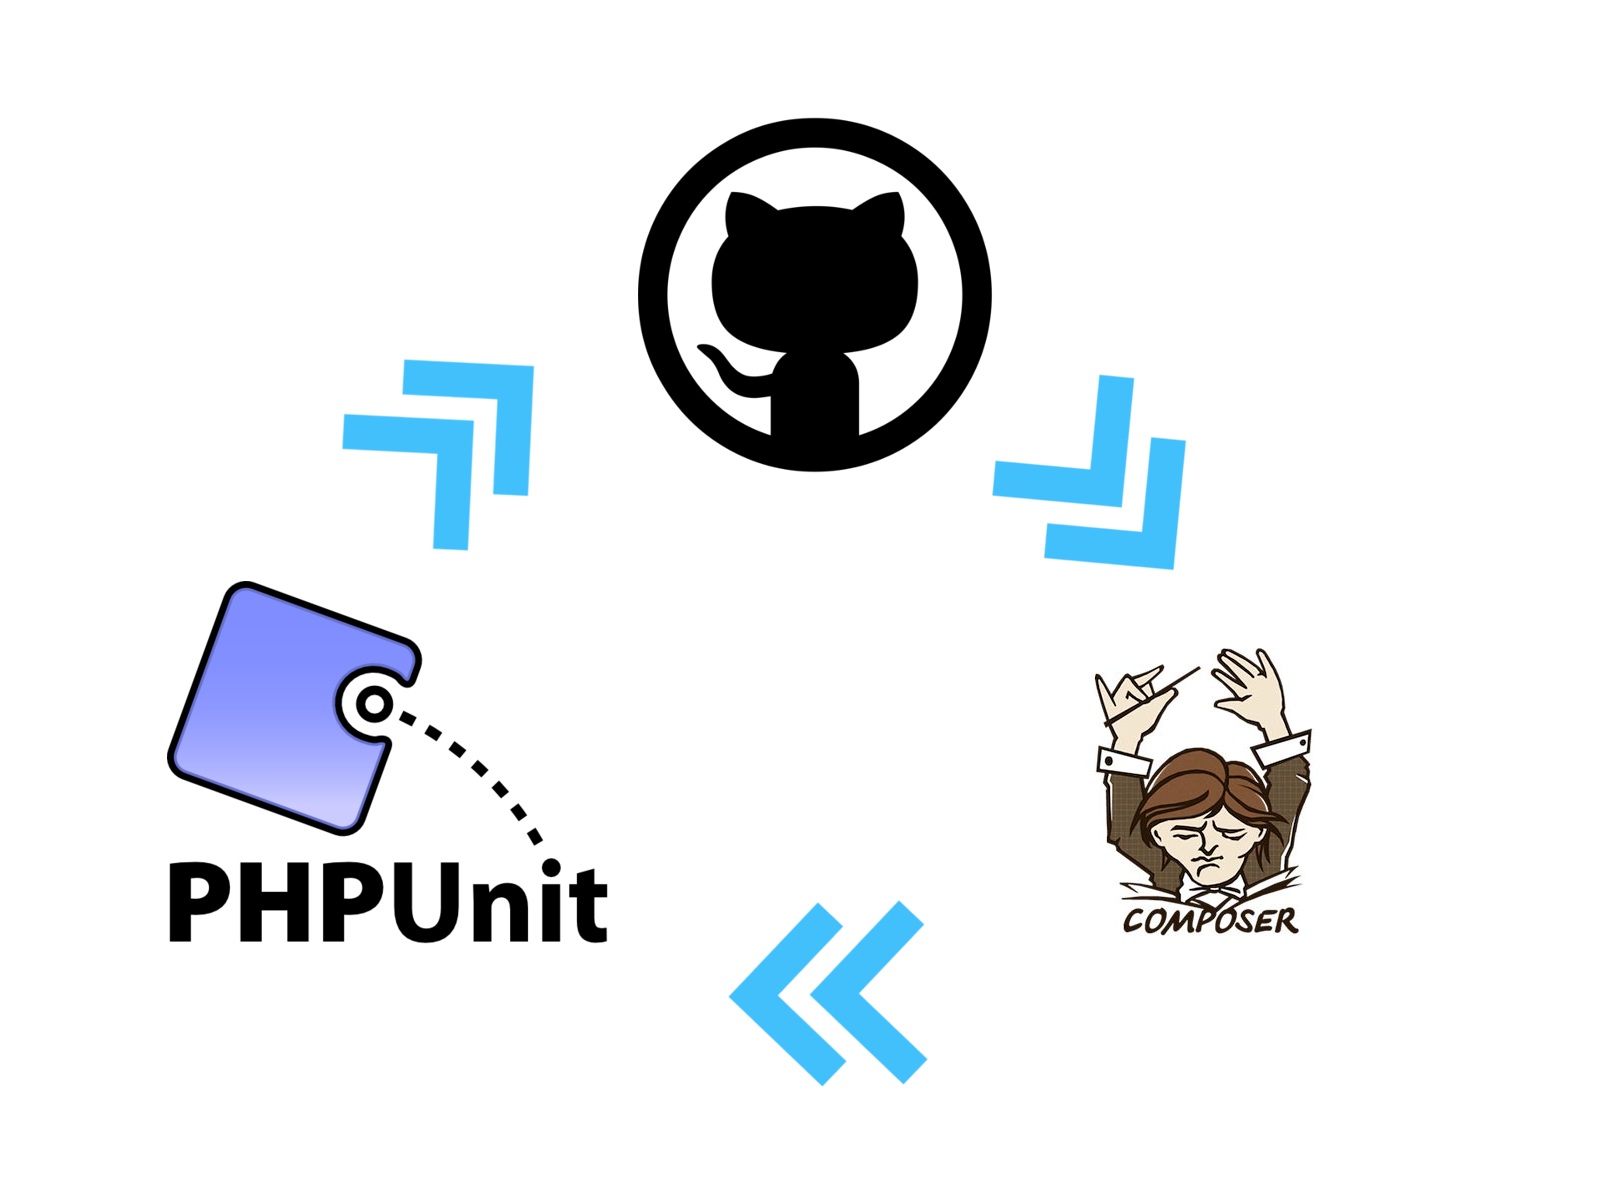
Describing it into step we have:
- Cloning repository
- Install/Update dependencies
- Run unit tests
Build.xml
First of all we need to create targets to execute tasks. Let’s start with the clone target.
<?xml version="1.0" encoding="utf-8"?>
<project name="First Example" description="Clone, phpunit" default="clone">
    <property name="appdir" value="."/>
    <property name="repodir" value="./app"/>
    <property name="repo" value="https://github.com/marabesi/laravel-pagseguro.git" />

    <target name="clone">
        <echo msg="Cloning repository ${repo} please wait"/>
        <gitclone repository="${repo}" targetPath="${appdir}/app"/>
    </target>
</project>
As you can see now we have a simple target that is going to clone the github repository and save it into app folder as specified in repodir property . The repository is defined in the repo property name.
Properties can be defined as a simple tag(static), or it can be defined through an properties file. To use it we must use ${my_property_name} syntax.
Defining property file
<property file="project.properties"/>
Defining static property
<property name="local.property" value="hello"/>
We can override properties using -D as argument followed by the property name in the command line.
phing -f build-file.xml -Dlocal.property=testing
As you can see we override our local.property with the value testing, when we run that instead of hello Phing will use testing.
The tag target indicates to us an project component, in other words to each component (or each task that we want to run) we have to create and target. Targets are the simplest container to be executed by Phing Finally in project tag we have the attribute default, and as the name says, it is the default target Phing is going to run when we execute the build file.
So far we have just one target and we need to implement more two to update our dependencies and run our unit test.
Optional Tasks (Dependencies)
Phing has various built-in tasks that we can use, known as optional tasks. Optional tasks are simple tasks that aren’t related to the core of Phing and aren’t tasks needed to build a project, for example, I use git in my project but you can use svn, so the git task is optional for you as svn is optional for me.
Here we have the right fit to update our composer dependencies task.
<target name="composerupdate" depends="clone">
      <composer composer="./composer.phar" command="install">
          <arg value="-d"/>
          <arg path="${repodir}" />
      </composer>
</target>
The interesting part here is that we have a attribute in our target tag called depends, it means that Phing is going to run this target before run this (if no target specified in depends is found an error is thrown), in other words, we must have a cloned repository to update our dependencies, so it makes sense to depend on clone task.
For further information about optional tasks refer to Phing’s official documentation.
Optional Tasks (Unit test)
In the same mood of composer we have phpunit optinal task to run:
<target name="phpunittests" depends="clone, composerupdate">
    <phpunit pharlocation="${appdir}/phpunit.phar"
             codecoverage="false"
             bootstrap="${testdir}/bootstrap.php"
             haltonfailure="true"
             printsummary="true">
        <batchtest>
            <fileset dir="${testdir}">
                <include name="**/*Test.php"/>
            </fileset>
        </batchtest>
    </phpunit>
</target>
And once again we take advantage of Phing with the optional task phpunit which provides a easy way to run unit tests using phpunit.
Automate, automate, automate!
With a fewer steps we automated our project, with Phing we can do much more and now is up to you keep automating. Play around with core tasks and optional tasks as well, Phing has a lot more to explore!
You can see full build file used in this post here.
About this post
This post was not assisted by AI. The content was created entirely by a human.