Continuous PHP
Continuous PHP is an amazing CI tool which provides an easy and quick way to run tests and automate deployments. At some point in our application, regardless of its field, you will need a CI server to automate things for you, and then comes Continuous PHP.
I confess I used Travis CI for a long time and Jenkins as well, but the problem with those tools is that none of them is specifically for PHP projects. Jenkins is a great example of this: to use it with PHP, we need to install a couple of plugins. Travis CI is more flexible with it, but neither was built with PHP in mind.
Meeting continuous PHP
To see how easy it is to use Continuous PHP, I’m going to use it in a simple personal project (https://github.com/marabesi/use-case-management), which consists of a simple PHPUnit test suite.
To follow this post you need to have:
- You must have a Github account
- You must have a project with PHPUnit tests
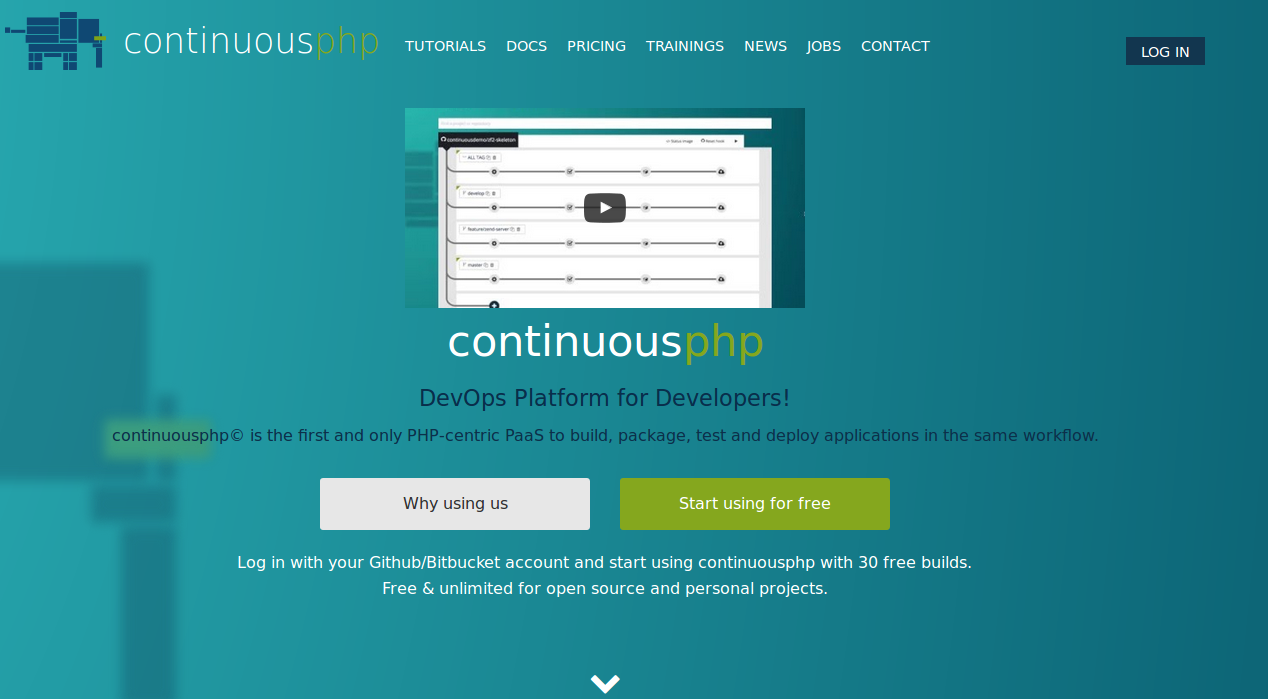
The first step is to click in the login button on the right as you can see in the image below:
After click in login chose Connect with Github and then Continuous PHP will sync all your repositories and show to you a list with all your Github repositories.
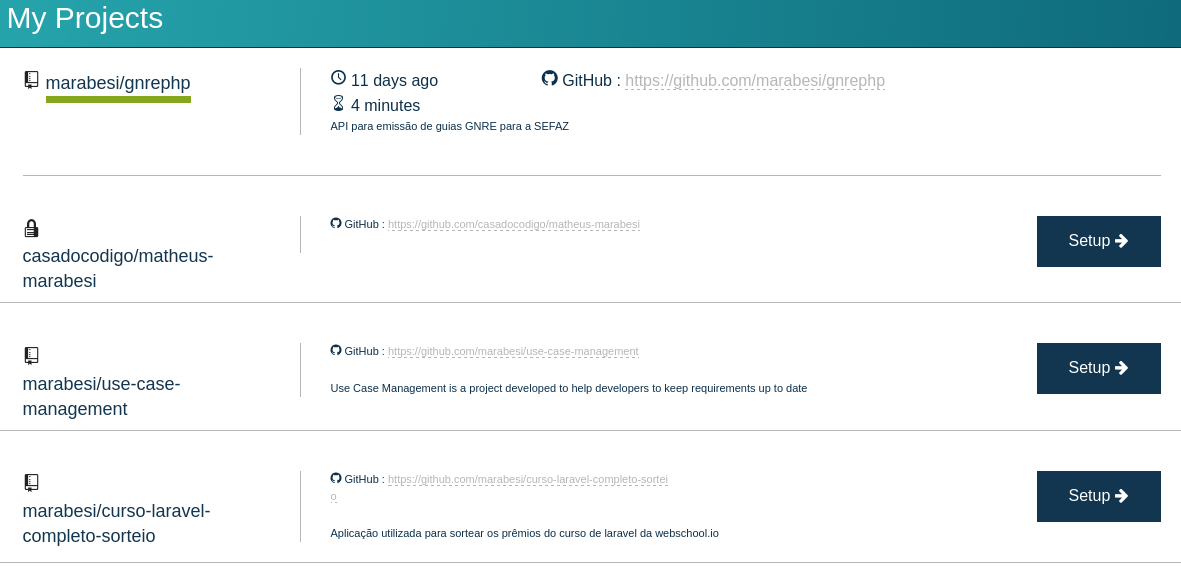
As you can see in the image above I have one repository called marabesi/gnrephp configured with Continuous PHP and for my happiness everything is fine (you can see a green bar indicating that all tests passed since last build). For this post I’m going to do the same thing but with the repository marabesi/use-case-management.
For each repository that is not configured with Continuous PHP we see a blue button in the right side “Setup”, we just need to click on that to start our configuration.

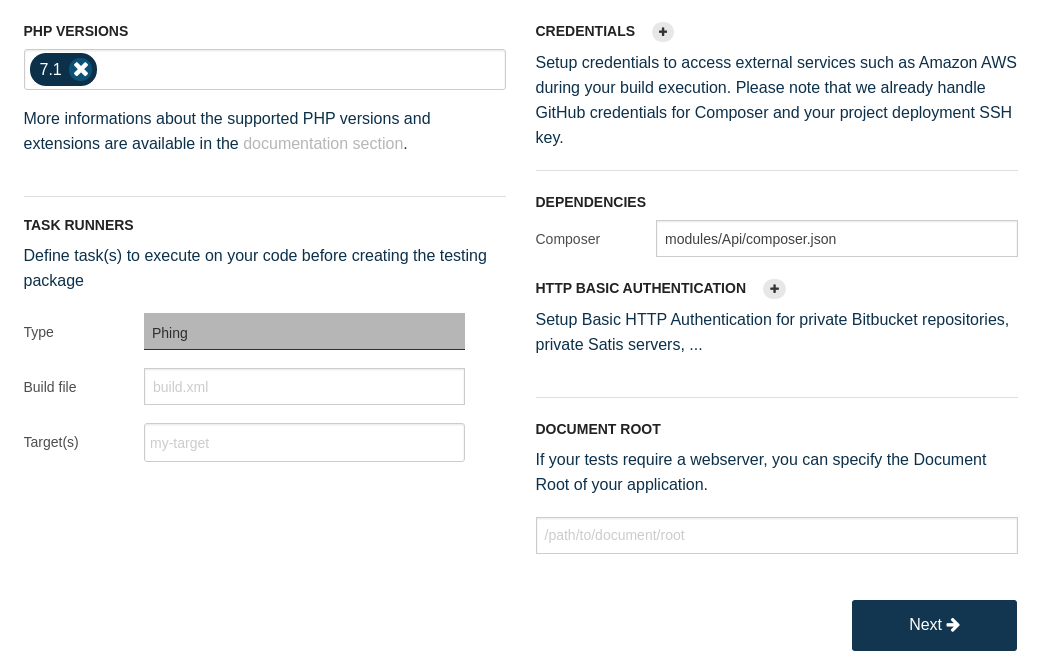
The “+” signal is to add a new step into the pipeline, click on that and you will see a list of branches of the repository and you can chose in which branch the item of the pipeline is going to be executed, as the project we are using don’t have any special branch just chose master. Then have a look below where we have some fields to configure our build properties, here we can chose as many versions of PHP as we want, and if in your project you have Phing you can specify a specific targets to be executed.
On the right side there are credential settings and dependencies. For our dependencies we are using composer so we just need to specify the path of our composer.json file.
A good notice here is that Continuous PHP has four main steps:
- Build - is where we configure the environment properties like PHP version, targets from Phing, composer file and credentials (if needed)
- Testing - here we configure our unit tests to be run when is just it, nothing new. Continuous PHP supports many test frameworks such as PHPUnit, Behat, Phpspec and so on.
- Package - We can chose in which format we would like to have the result deployed to. Imagine it as a snapshot of our whole application with all its dependencies ready to be send to any server or have it as a tar ball. Continuous PHP offers to you a bunch of options such as Generic tarball, AWS CodeDeploy, AWS ElasticBeanstalk and Zend Server.
- Deploy - Finally Continuous PHP give to us a way to easily deploy to a server. This step is directly connected with the previous one, in other words, you must to chose the correct package in order to deploy.

We just passed the Build step in Continuous PHP and now we can configure our tests. Continuous PHP is smart enough to know which framework you’re using, of course the framework must be in the list of supported frameworks and you can see the list in https://continuousphp.com/documentation/testing.
The great thing is that you can select if your suit test will be blocking or not, which means that you can decide if the build goes on if the suit fails or not.
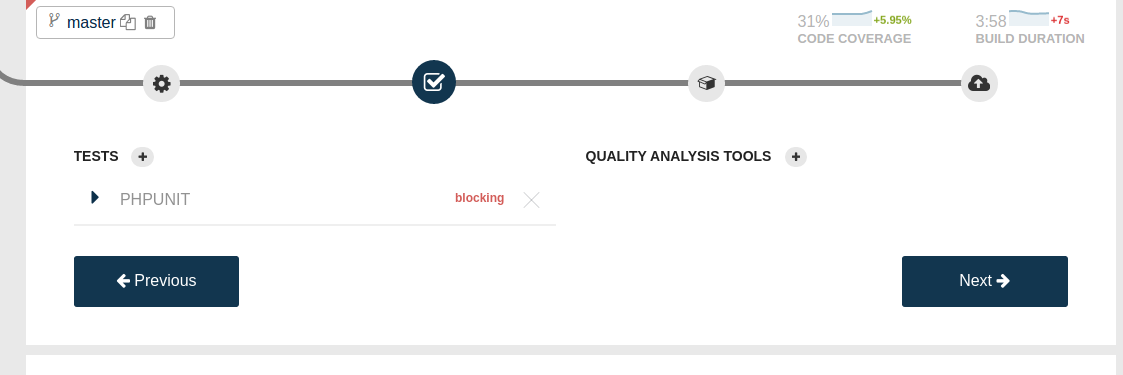
For our simple post we’re going to stop here. If you see the image above you will note that we have two more steps in the pipeline but they’re specially for packaging and deploy, by now we are ready to see our project running and receive notifications by email if anything fails. Just click in Next in the Packaging and Deploy steps and in the end click in the play button as the image below shows

Then a popup will appears asking which branch you would like to execute the build, just chose the branch you want to (usually is the master branch) and a build will start. To see whats is going on in the build you can follow the icon that looks like a console in the right side where is written Execution details

Doing that we will see our build running and what went wrong or what went ok like our next image
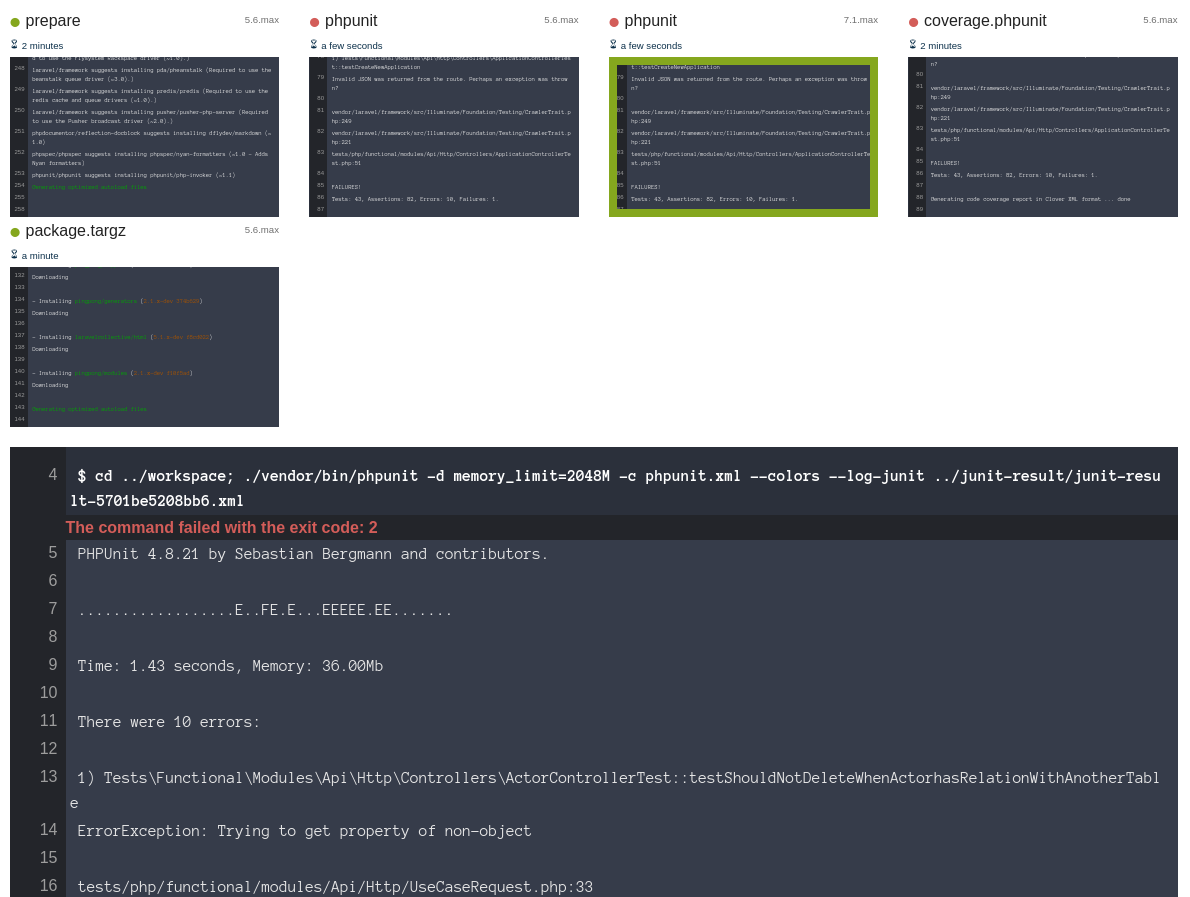
As you can see something went wrong in my build but its because some unit tests are failing, it need to be fixed in order to have a clean build with all green.
Badge
Usually we see a lot of badges in Github to inform us if the build is passing or falling, how many downloads the repository had, the quality of code and so on. Continuous PHP also has it’s own badge that you can use in your repository.
![]()
To achieve that is really simple, just click in Status image and a list of options will appear to you. You can select between URL, HTML and Markdown and use it wherever you want to.
![]()
Conclusion
The main difference that I noted compared to others CI’s is the simplicity that Continuous PHP offer to us. We do everything in a nice GUI and no configuration file is needed. Continuous PHP still implementing new features and is production ready, so you can taste it right now!
Further reading
Introduction to continuous delivery
Set uo your project with continuous PHP
About this post
This post was not assisted by AI. The content was created entirely by a human.